Saturday, May 17, 2014

Gardening

Soon we will begin revamping our front children's garden with some help from a master gardener. For gardening week, we had a refresher on plants, seeds, and soil.


Planting
Everyone planted cantaloupe seeds.  After some disappointing results from our last plantings, I'm hoping these are more successful!!

JUNE UPDATE: everyone's seedlings grew very well! (2 or 3 got some help from the garden fairy- luckily I was still germinating more seeds at home) As they grew more, the kids painted new pots, transferred the plants, and took them home.


Getting Up Close with Roots
I started germinating several cantaloupe seeds at home using moist paper towels and ziplock bags. I brought several in to show the kids what the plant initially looks like before sprouting above the soil. I put the germinated seeds under the children's microscope, which was a hit.


Veggie Talk
Our children's garden will primarily consist of edible plants so I spent some time talking about different vegetables and the parts of the plants we eat.
Leaves: Lettuce, kale
Stem: Celery
Fruit: Apple, orange, tomato, eggplant, peppers
Seeds: Corn, beans
Roots: Carrot
Flower: Broccoli,Cauliflower
Other: Potato (tuber), mushroom (fungi)

For young kids, the fruit of a plant can be confusing to understand because most kids will want to associate fruit as in fruit vs. vegetable. However in some cases, we are eating the part of a vegetable plant that is called the fruit.


Types of Soil
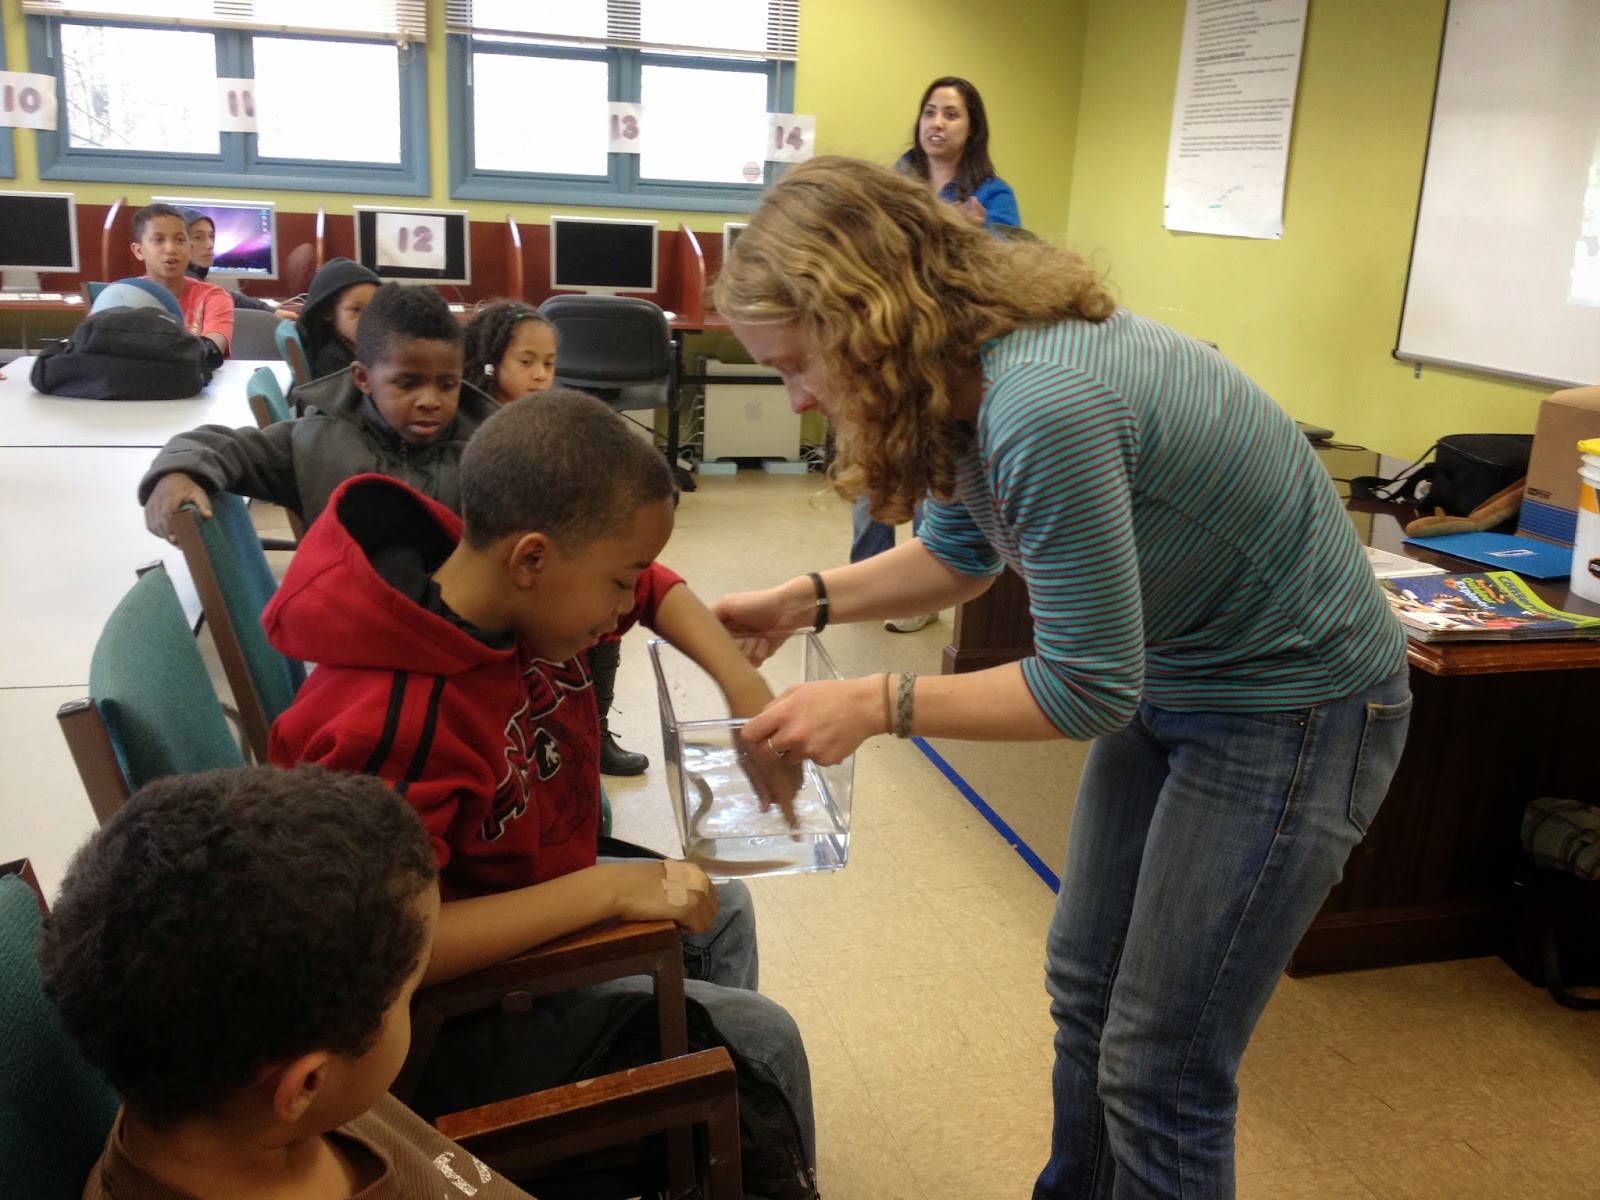
We examined different types of soil by using our hands, magnifying glasses, and microscope. I had soil observation worksheets for the kids to draw and color what they found in their soil and questions about the importance of soil.We learned that certain soils are better suited for growing different plants. Different soils have different textures, colors, and particle size.


Soil Song (To the Tune of Mary Had a Little Lamb)
There are 5 types of soil
Of soil
Of soil!
There are 5 types of soil,
Can you name them all?
Sand, silt, humus, rocks and clay
Rocks and clay
Rocks and clay
Sand, silt, humus, rocks and clay
Now we’ve learned them all!

Soil is made from weathering
Weathering,
Weathering!
Soil is made from weathering
Rocks are breaking down

Erosion washes soil away,
Soil away,
Soil away
Erosion washes soil away

Or blows it to the wind!


Horticulture Therapy Garden Field Trip
We also took a field trip this week to a beautiful Horticulture Therapy Garden. 

We had a chance to tour the grounds... parts of site were still in the process of being completed and not all plantings were in, but so far it looks great.

The kids had an opportunity to plant seeds to bring home. 


Tuesday, May 6, 2014

Hudson River Estuary

To prepare for a big field trip with Clearwater we did a review of what we've learned so far about HR the estuary.


One activity that really went over well was jeopardy. We had two teams with a spokesperson for each team. We went back and forth so each team had a fair amount of turns, however if a team guessed incorrectly, the other team could guess for half the points, and after that additional guesses could be made for no points. I was pleasantly surprised at how much particular kids knew or remembered.


We continued doing other things like the eel life cycles sheets, food web activities, learning the names of fish, and looking at maps of the Hudson River.

In addition to the the Project Wet Hudson River activity books, the NYS Dept of Health also has a good HR Coloring Book.

Sometimes I pull visuals or ideas from the following two places which have tons of specific place-based lessons for the Hudson River:

1. NYSDEC Hudson River Estuary Program
2. Cary Institute of Ecosystem Studies, Changing the Hudson Project


Sunday, May 4, 2014

Eels


We had the very special opportunity to learn and participate in the NYSDEC American Eel Citizen Science Project. This effort is organized by some great friends and colleagues of mine and I was super happy they were able to do a 2 part lesson with us- a classroom style presentation and then a trip to an eel monitoring location the following week.

Our kids had a chance to see live baby glass eels, touch an adult eel and learn more about their life cycle and migration patterns. The 2 part eel lesson fit well into Earth Day/ Human Impact Week because we talked about positive and negative human interactions with American Eels (Creating dams & barriers, scientists and biologists helping, harvesting/selling for food, etc)

During Watershed Week we actually went out to a nearby creek to check the fyke net! The nets get checked every day, juvenile eels are collected from the net, counted, weighed, and released right above the nearest vertical barrier. This helps give the eels an extra boost as they try traveling up the Hudson, plus it gives communities the chance to participate in data collection and enables scientists to gain a better understanding of the eel populations in this area.


To collect eels from the net you need to wear waders and enter the water. The process is quicker with the more people you have, but because of a couple factors (age of out kids, rainy/cold weather, # of waders available) only myself and my friend, "the eel lady" went in to collect and the kids helped with counting back on land. Besides counting the number of glass eels that day (100!!) we also recording things like the date, time, weather, air temperature and water temperature.


In days following we continued to talk about eels, including these life cycles coloring sheets in which we also numbered and labeled the names of each stage.


Watersheds Cont'd

Eviroscape
One of the most awesome environmental ed materials is Enviroscapes. They are perfect for teaching about watersheds, point and non point pollution and more.

This year I learned a new teaching strategy from my boss- make a story out of the entire program. Talk about the model as if it were a realistic town, perhaps the one you live in. Introduce the places on the model as your home and neighborhood, the farm you visit, the forest you hike in, the bridge you cross over etc.

Here are the representatives I used for each pollution:
Pesticides = green jello powder
Gasoline = soy sauce
Waste/manure = coco powder + water
trash = tiny ripped up paper
Other chemicals (factory, etc) = red jello powder


Erosion Experiment
To demonstrate the importance of vegetation and even introduce wetlands, I did an experiment that shows how plants and other organic matter can slow the rate of erosion. We poured a cup of water into each of the three containers; pure soil, soil with a thick layer of detritus(leaf litter), and grass. I cut holes in the end of each container. The containers can be any shape or size, I've often seen water bottles sliced in half... that way you don't even have to cut output openings. Make sure the openings are right at the surface of the soil. The water in pure soil mostly ran off, carrying the sediment with it. The leaf litter helped contain some water and "filter" it so to speak. As the kids noticed immediately, the water coming out was lighter in color compared to the first one. The abundant vegetation in the last container does two things, its slows down the release of water because the plants and roots uptake the water instead. Roots and vegetation also help hold the soil together, thus preventing erosion during large rainfalls. The water coming out of the vegetated container is released much slower, there is less of it, and it is clearer in color because little dirt moves along with it!


Intro to Watersheds

We've learned a lot about the Hudson River, and I often use the term Hudson River Watershed. But- what exactly IS a watershed?

I started introducing watersheds with a few simple hands-on activities. Using the HR as our example, we examined how a lake at the top of the highest mountain could eventually travel all the way down NY state and collect more water along the way.

Be a Watershed
Have kids make a mountain with their arms. Use a spray bottle to simulate rain right above the mountain. Where does the water flow? Downwards to lower points in elevation. Generally, you should expect two "lakes" to form at each elbow. Begin explaining how there are certain areas that all water will move towards.


Make a Watershed
The simplest way to demonstrate watersheds is crumple up a piece of paper (regular paper works so-so, wax or waterproof is preferable). Uncrumple it a little, not completely, and begin tracing the peaks and valleys (high and low points) with different colors. Use crayola washable markers! It is important that they are water-based. 

You can take a step further by incorporating urban planning.. talk about and tell kids to use markers and symbols to place important structures around their watershed.
              • Home
              • Grocery Store
              • Restaurant
              • Mall
              • School
              • Hospital
              • Church
Use a spray bottle to simulate rain over your watershed. Place inside a tray or something to help contain the water and mess. Examine what happens to your structures. Are they safe? Are they flooded? Are there any plateaus that stayed relatively dry? Are there any lakes, rivers, streams that appear to have formed? You can continue explaining that high points like mountain ridges delineate the different watersheds. The Hudson River watershed has numerous mountainous areas and ultimately all water continues traveling downwards eventually feeding into the river.


Tap Water Taste Test

Preserving the water quality in our watershed is particularly important because some of our neighboring towns actually receive their drinking water FROM the Hudson River!

As the ongoing debate of tap vs bottled water continues globally, we decided to do our own tap water blind taste test to see if we could tell the difference and vote on which one we thought tastes better than the others.

We had there color coded cups: tap water, bottled water and filtered tap water (Brita)

UNFORTUNATELY we had some unexpected outcomes due to refrigeration errors. In order to prepare enough water for our ~35 kids I prepared 2 pitchers of each water type and put in the fridge until snack. We ALREADY had a full pitcher of tap water in the fridge so I went ahead and used that without tasting first. Turns out that water must have been sitting in the fridge for a while... It tasted terrible and we're blaming it on the fact that it was an open pitcher without a lid and must have acquired some the fridge's lingering food odors or something. Our staff went and tried some direct sink water after the test was over and it did not taste like that, nor did the second pitcher of tap water I didn't end up needing.... however you could still taste some chlorine when compared to the filtered water.

Needless to say, we did not get the results we expected or wanted but sometimes with science that's just the way things happen. There were only like 2 votes for tap water, and a very close tie between bottle and filtered... filtered was actually in the lead for a while but bottled got a few last minute votes at the end.
If the tap water tasted normal, I predict it would have received some more votes and filtered would have been the winner.

Climate Change and Human Interactions with the Environment

In honor of Earth Day (April 22) and Arbor Day (May 25) I did a week theme of Climate Change and Human Interactions. We learned about the positive and negative ways we impact nature and the earth.


Earth Day Garden Planning
As a large group we began designing our plan for a vegetable garden! We decided on creating a pizza garden theme, so it will include foods that we can grow and harvest to make pizza! (tomatoes, peppers, herbs..)


Sea Level Rise Demo
I designed a very basic experiment to show the kids the relationship between glaciers, icebergs, and climate change. I set up two little containers of water. We placed ice directly into the water in one, and on top of "land" in the other- to represent icebergs and land glaciers, respectively. We marked of the level of the water in each container with a permanent marker. (If the marker or sides are too wet, the marker won't work..)


We talked a little about climate change, particularly global warming. I had kids predict what was going to happen when these were exposed to warming (in our case, heat lamps). Would nothing happen? Would sea level change on one? would sea level change on both? Most kids guessed both would increase.....the response I was expecting. Obviously the way the experiment should work, if successful, is that the glaciers will increase the sea level while the icebergs have already displaced water and since ice takes up more space than water, sea level wouldn't be rising, if anything getting a tiny bit lower.
With the kids, we put about the same amount of ice in both containers. But I later added a bit more to the glaciers to make sure we'd have a visible difference. The next day we came in to see all the ice melted and talked about why things happened the way they did!


Climate Change Haiku
To show our appreciation for nature we wrote some poetry! I was inspired to do this activity because of the super awesome person that summarized the entire 4th IPCC report in haiku. I had a small booklet of that to show the kids. They were mostly interested in writing their own words... or copying my example.


Arbor Day
To celebrate Arbor Day we planted a new apple tree in the front of our building!

Sunday, April 27, 2014

Living Things Update

In the past month we've had a couple surprising additions to the nature room.


Beginning of March 2014


Bunny (Midnight Shadow) 
The animals we inherent are usually pets that people no longer want. Personally, I'd rather us be getting animals native the the Hudson River and shorezone... This particular bunny was at the center for a short time a year ago, and seeing him back makes the kids happy and in return makes me happy. 
Our bunny supplies aren't great.. the bottom of the cage has a big crack that has a temporary patch up, the water bottle leaks and constantly gets knocked over by the bunny. He's a very active bunny and also knocks over the food dish even when it is full. He's a bit high maintenance..... but we make do. I'm slowly getting kids used to and helping with cleaning out the poo & cage daily.


End of March 2014


House Crickets
Back in January we received  a Cricket Breeding Kit from Carolina Biological. It comes with a tiny plastic cage, food, peat pots, soil, and the breeding dishes with mesh. They send about 30 live crickets, except due to extreme cold they were all dead when we received them. We got a second batch shipped to us once it was a little warmer. We decided to put them in a larger tank that we had on hand. 

None of us had knowledge or experience with crickets. I've learned the following through trial and error:
  • Crickets will drown themselves if you give a full water dish. Wet paper towel works well
  • The egg laying dishes need to be sprayed with water daily or sooner, if the soil dries out so do the eggs and they die.
  • Crickets do not live for very long
  • Crickets, especially cricket eggs, need to be kept in 85+ degrees F temperatures
  • It is best to only have substrate in the breeding dish (not dirt everywhere around the cage)
  • It is encouraged to remove the egg dish once eggs are deposited and place them in a new tank, then place a new egg dish in the adult cricket tank. (in order to prevent young from being eaten)

All that being said... we now only have one cricket left as of 4/27 :(


 Mushrooms
We had a grow your own mushroom kit, which guarantees edible pearl oyster mushrooms will grow in 10 days. It took ours much much longer to grow... so long that I worried they weren't going to grow at all, or that the humidity in our room was a problem. We prepped the "farm" around the second week in March (12/13th). Upon coming into the room on April 7, after the weekend, I was super pleasantly surprised to see mushrooms finally! There was no sign of anything the previous Friday... but some magic seemed to happen that weekend!
The dates of the mushroom photos are: March 31, April 7, April 7, April  8, and April 11. I plucked them off a day or so after April 11th because they had dried out over the weekend. 
Unfortunately, my boss didn't want us to eat them because of concern that all the animals in the room (dander, waste, whatever else in the air) would have made them unsafe to eat. 


Seedlings
We planted our seeds on March 10 and on the 25th we finally had one sprout! Unfortunately, this is the only one that has sprouted. Future advice to myself: don't use seeds that seem old and especially not if past the package expiration date... even if the package is unopened. This one continues to be growing well. It is the only pot that was planted with Bright Lights seeds


Mid April 2014


Ringed-Neck Pheasants
Hopefully by May 9 our eggs will hatch! Put in the incubator on April 16.


Guinea Pig (Mr.Squeaky)
The same day we got the eggs, we unexpectedly got a guinea pig. Again another pet from pet owners who can no longer care for it. He's not used to people yet and nibbles a bit. ALSO RUNS RIDICULOUSLY FAST. Makes cleaning the cage difficult since he has to be taken out to do so.