How Well Can You Sort?- Intro to Recycling
We started the week by talking about different materials (paper, plastic, glass, metal, styrofoam, etc) that make up products we often use and buy.
 Lay out a bunch of items from each category on the floor, make sure they're mixed up. I had some posters with the names of each material also laid out. Next, have the kids sort the materials. This might be too basic for most kids, if they already know what all these materials look like and the differences between them.... but for our age group and background, this was important to help them understand what's the difference between plastic, glass, aluminum, etc.
From there we transitioned into learning the 3 R's, what they mean, and simple ways we can do each in our homes and school.
Some ideas my kids came up with:
Reduce:
Don't buy things with lots of plastic or paper coverings.
Bring your own bags to the grocery store instead of taking the plastic bags
Reduce amount of garbage by recycling and composting properly
Reuse:
Find a second use for tin cans, glass bottles and jars (flower vase, hold pens and pencils, store food)
Use washable plates and cups that can be used over and over.
If you make a mistake while coloring, turn it over and use the other side
Recycle:
Remember to put all plastics and paper in the single stream recycling.
We have composters at our facility so we also were able to talk a little bit about composting too.
Recycled Art
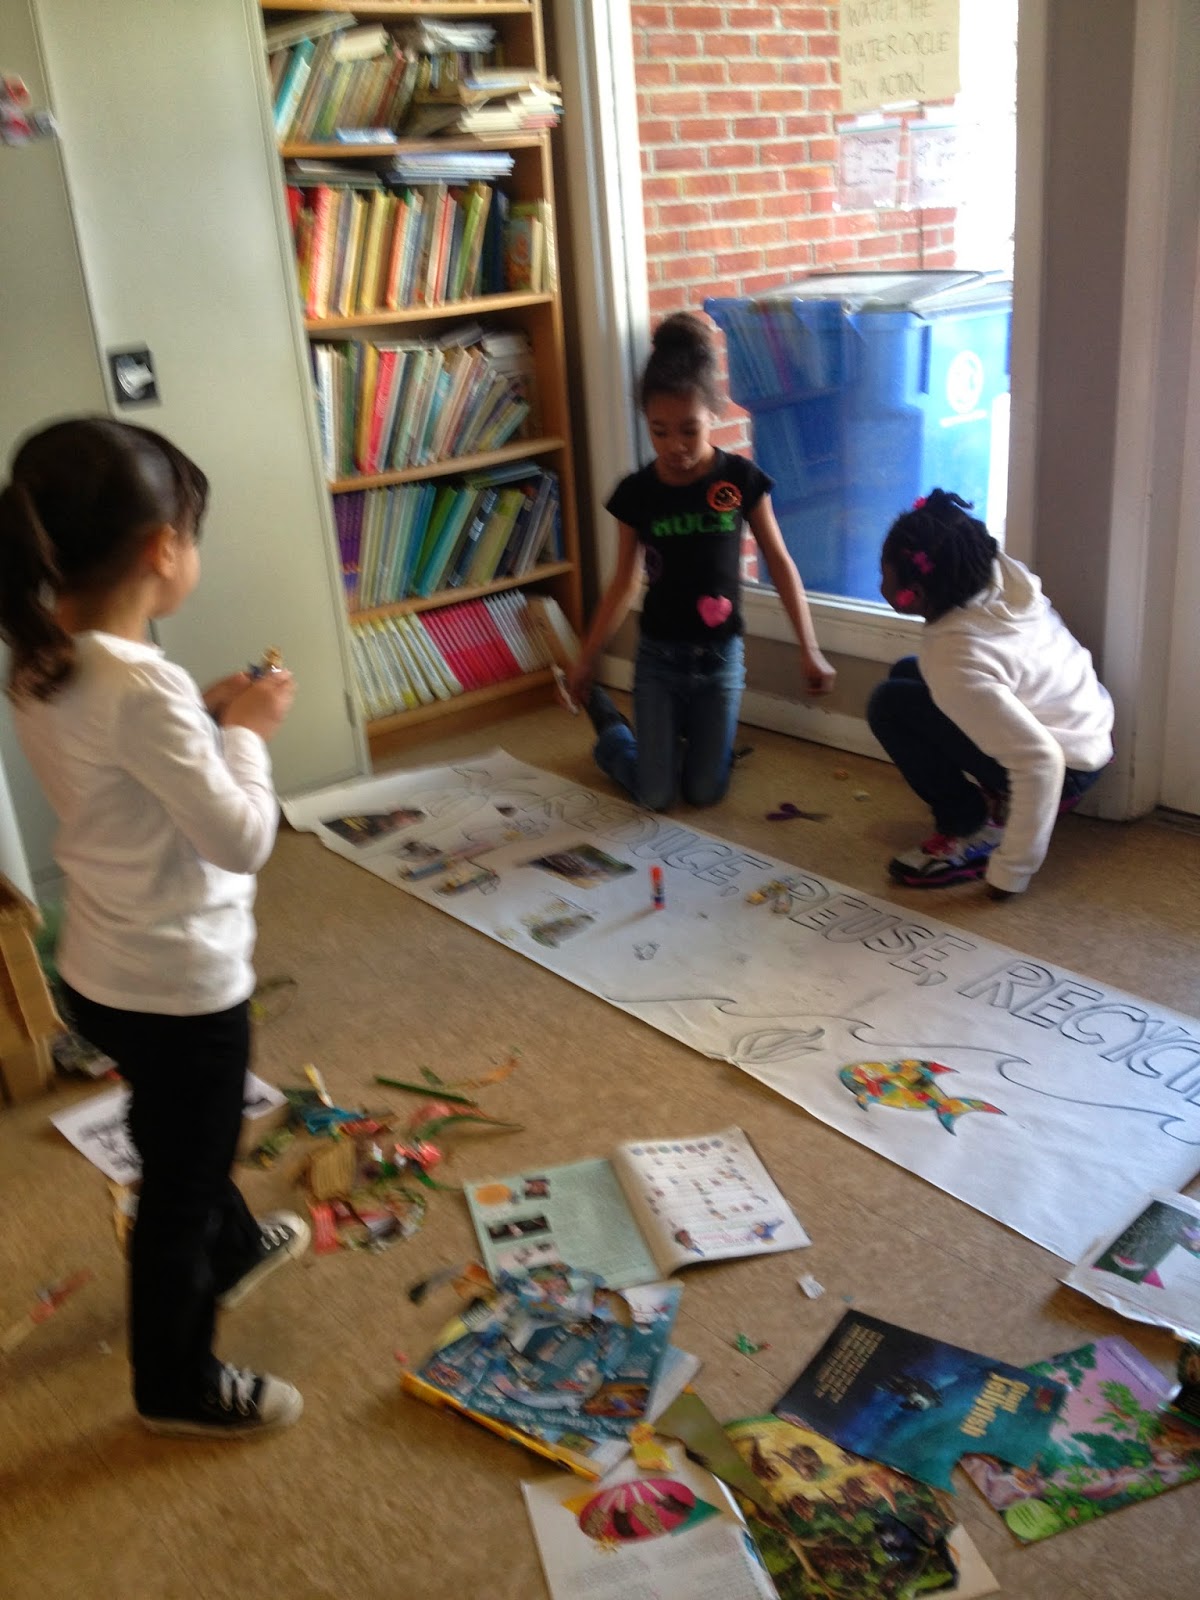
We made a group collage over two days. I got my motivation from this pintrest idea. We didn't end up making any animal silhouettes QUITE like that, but the kids enjoyed trying the different techniques and textures such as
- Rolling the paper- use a pencil to roll it up, then glue the edge right before you finish rolling.
- True collage, as the fish below looks
- Cutting into specific shapes, like the butterfly and tulip
- Cutting out pictures of animals
Using animals as the theme of the collage allowed me to talk to kids about the impacts of trash on wildlife as well.
Here's our progress after Day 1:

Papermaking

I had never done papermarking before. It is MUCH EASIER to do than you think.
Things you need:
- Shredded or ripped up paper
- Water
- Blender
- Aluminum trays, or anything that is at least 4-5 inches deep
- Towels.. LOTS of towels!
- heavy items like phone books
- Papermaking kit. We had papermaking tools from a kit similar to the one in the link above. You could probably make or find most of the items...a wood frame, plastic grid, screen (similar to that of a window screen), and a cover screen (usually blue)
Having kids work together in an assembly line fashion is best especially if you don't have enough screens and frames. Have kids each help work at one of these stations
- Making pulp- blend water and recycled paper. It's really a trial and error to determine consistency, but I noticed you usually needed 1 parts paper, 2 parts water. Pour into trays. You can always add or remove water to the trays at anytime if need be..
- Place wood frame with screen & grid underneath in water (order from bottom to top: Plastic grid, screen, wood frame). Scoop the water in until the entire frame is submerged. Pull straight out and let water drain.
- Remove wood frame and place blue cover over paper. This helps press out water (and protect the new paper!). Put these under a towel and fold the towel over and press hard to remove as much excess water. Overtime towels will be soaked, if you don't ring out your towels or switch in dry ones, you won't be able to remove enough water and the paper won't come out as nice. We actually RECYCLED our water by ringing the towels out and using that water to continue making more pulp.
- Remove the plastic frame and press again- sandwiching it inside a hardy paper. We had these thick papers that were specifically for pressing and drying during papermaking, once they dry they become sturdy again and can be reused. However, they were getting very old and the kids weren't doing a good job removing most of the water in the step before... so they got drenched and torn. We found an alternative: construction paper worked well.
- Use some sort of materials mentioned above to continue pressing as much water out as possible. Use something heavy like phonebooks on top to make one final effort to remove water.
- Carefully remove recycled paper and place somewhere to dry.


 Matching Game
Another simple game we played was matching the reusable item with the non-reusable or less environmentally friendly. Some examples are throwaway plates and cups vs ceramic or reusable, plastic bag vs canvas bag, Starbucks coffee cup vs travel mug, tiny individual salt and mustard packets vs bottles and large bags, paper napkin vs cloth napkin, paper towel vs cloth towel.
Other Useful Visuals
Taking kids to a local recycling or waste disposal facility was my goal, unfortunately they can't accommodate a tour in the afternoons.
For passive learners, I had some reading materials and posters about the process of waste disposal, recycling, and tips for recycling.
We also read the book, "The Great Trash Bash"
No comments:
Post a Comment